

Adding a contact
- Open the client record and go to the Contacts tab.
- Click Add Contact.
- Enter the contact’s details — name, Job Title, Email, and Phone Number — and select the Site(s) they’re associated with.
- Save the contact.
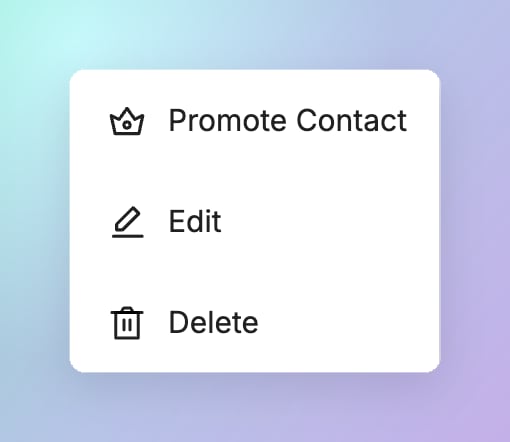
··· menu on each contact’s row has the following options:
- Promote Contact — make the contact the client admin (see below)
- Edit — update the contact’s details
- Delete — remove the contact
Inviting a client to the Client Portal
Once you’ve completed and issued the client’s first survey, promote their main contact to client admin to give the client access to the Client Portal. This turns the contact into a real user with client administration permissions — they can log in to view published survey documents, manage recommendations, invite other users, and more. You can promote a contact in either of two ways:- Open the
···menu on the contact’s row and select Promote Contact. - Open the contact’s Edit form and promote them from there.
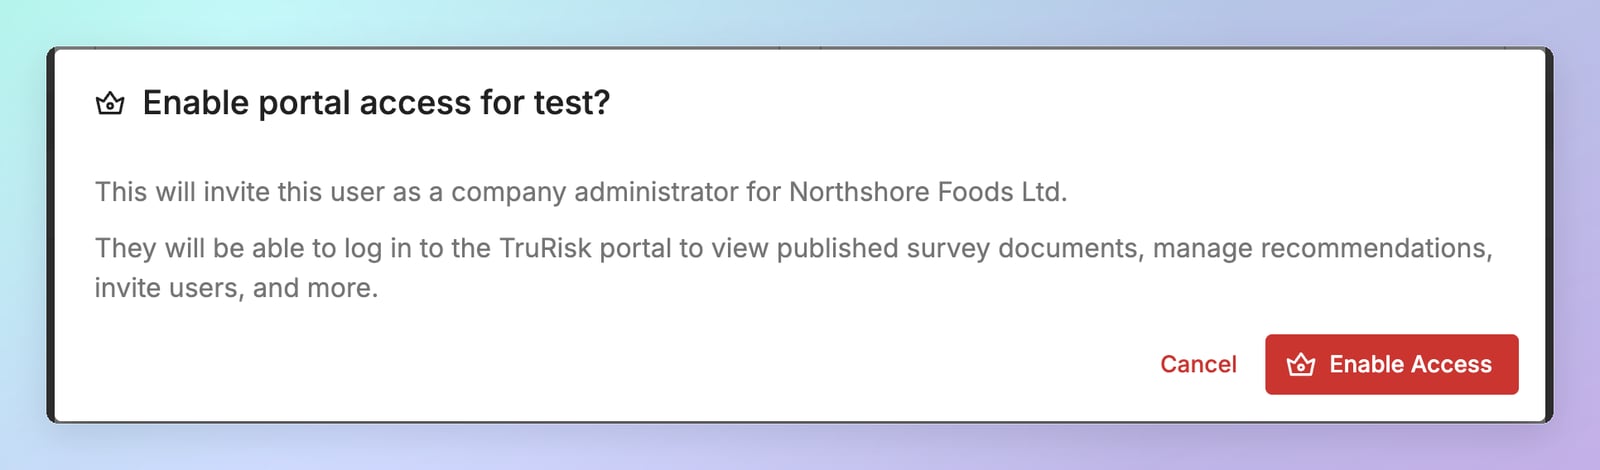
- The client’s status changes to Active automatically.
- The contact receives an email inviting them to the Client Portal.
- A crown icon appears next to their name in the Contacts list to show they’re the client admin.
You can only promote one contact per client. From then on, the client admin manages their own users from within the Client Portal — for example, adding site managers who complete activities at individual sites. If the client admin loses access or has problems with the portal, contact your TruRisk administrator.
- Complete the client’s first survey and issue the report.
- Preview the Client Portal.
- Add the client’s main contact and Promote Contact — portal access is enabled automatically.